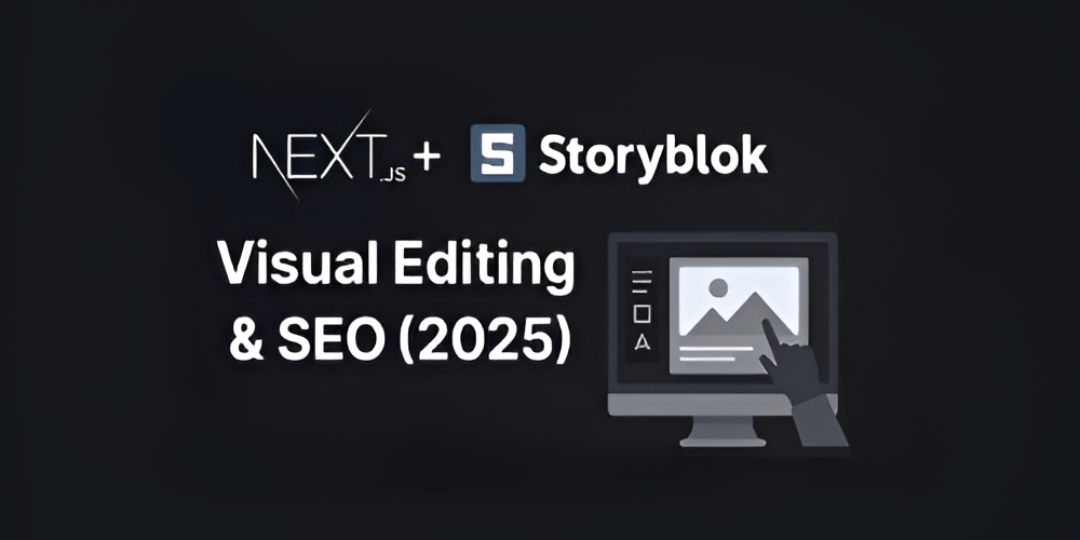
The Ultimate 2025 Guide to Next.js + Storyblok: Visual Editing, Dynamic Content & Advanced SEO
Storyblok
NextJs
visual editor
JAMstack
Discover how to fully integrate Storyblok with Next.js in this comprehensive, step-by-step guide. We'll cover everything from setting up the project to building dynamic routes, optimizing SEO, and using the Storyblok visual editor. Complete with real code examples, advanced tips, and guidance for screenshots to make your blog truly professional and deeply understandable.
📌 Table of Contents
- Why Next.js + Storyblok?
- Project Setup and Installation
- Configure Storyblok (with Screenshots)
- Creating Dynamic Components
- Fetching Content & Dynamic Routing
- Enabling the Storyblok Visual Editor
- Adding SEO with Next.js & Storyblok
- Best Practices & Advanced Tips
- Deployment to Vercel
- Conclusion & Next Steps
1. Why Next.js + Storyblok
- Visual editing for marketing teams and developers.
- Modular, scalable content delivery.
- Supports SSR, SSG, and ISR for speed and flexibility.
- Optimized SEO and fast CDN.
🛠 2. Project Setup and Installation
Create a Next.js app
npx create-next-app@latest nextjs-storyblok-demo cd nextjs-storyblok-demo npm install
Install Storyblok SDK
npm install @storyblok/react
Get Storyblok Public API Token
- Create an account at Storyblok.
- Create a new space → copy your Public API Token.
📸 Screenshot tip: Capture your new space and where to find the API token.
⚙️ 3. Configure Storyblok in Next.js
Create lib/storyblok.js and initialize Storyblok:
1import { storyblokInit, apiPlugin } from "@storyblok/react";
2import Page from "../components/Page";
3
4storyblokInit({
5  accessToken: process.env.STORYBLOK_API_TOKEN,
6  use: [apiPlugin],
7  components: { page: Page },
8});
In .env.local:
1STORYBLOK_API_TOKEN=your_public_tokenIn _app.js:
1import { StoryblokProvider } from "@storyblok/react";
2import "../styles/globals.css";
3
4export default function App({ Component, pageProps }) {
5  return (
6    <StoryblokProvider>
7      <Component {...pageProps} />
8    </StoryblokProvider>
9  );
10}
📸 Screenshot tip: Show environment setup and Storyblok initialization.
4. Creating Dynamic Components
Create components/Page.js:
1export default function Page({ blok }) {
2  return <h1>{blok.title}</h1>;
3}
In Storyblok:
- Go to Components → create a component page.
- Add fields: title, seo_title, seo_description, body.
📸 Screenshot tip: Show your component schema and fields in Storyblok.
5. Fetching Content & Dynamic Routing
Create pages/[slug].js:
1import { useStoryblokState, getStoryblokApi } from "@storyblok/react";
2import Page from "../components/Page";
3
4export default function DynamicPage({ story }) {
5  story = useStoryblokState(story);
6  return <Page blok={story.content} />;
7}
8
9export async function getStaticProps({ params }) {
10  const slug = params.slug ? params.slug.join("/") : "home";
11  const storyblokApi = getStoryblokApi();
12  let { data } = await storyblokApi.get(`cdn/stories/${slug}`, { version: "draft" });
13
14  return { props: { story: data ? data.story : null }, revalidate: 3600 };
15}
16
17export async function getStaticPaths() {
18  const storyblokApi = getStoryblokApi();
19  let { data } = await storyblokApi.get("cdn/links/");
20  let paths = Object.keys(data.links).map(key => {
21    const slug = data.links[key].slug;
22    return { params: { slug: slug === "home" ? [] : slug.split("/") } };
23  });
24
25  return { paths, fallback: false };
26}
📸 Screenshot tip: Show your content structure in Storyblok and the result in the browser.
6. Enabling the Storyblok Visual Editor
In Storyblok space → Settings → Visual Editor:
- Add: http://localhost:3000
- Set preview URL: http://localhost:3000/{slug}
📸 Screenshot tip: Show Visual Editor live preview and editable fields.
🌐 7. Adding SEO with Next.js & Storyblok
In pages/[slug].js:
1import Head from "next/head";
2
3export default function DynamicPage({ story }) {
4  story = useStoryblokState(story);
5
6  return (
7    <>
8      <Head>
9        <title>{story.content.seo_title}</title>
10        <meta name="description" content={story.content.seo_description} />
11      </Head>
12      <Page blok={story.content} />
13    </>
14  );
15}
Advanced Sub-Sections
📦 Advanced Caching Strategies
Learn to combine Incremental Static Regeneration (ISR) and cache-control headers to balance freshness and performance.
🌍 Multilingual Support
Set up Storyblok's internationalization feature, create language folders, and use Next.js i18n routing to serve content in multiple languages seamlessly.
📝 Rich Text Rendering
Use Storyblok’s renderRichText helper to properly render rich text fields, enabling editors to add formatted content, links, and media easily.
1import { renderRichText } from '@storyblok/react';
2
3export default function Page({ blok }) {
4  return <div>{renderRichText(blok.body)}</div>;
5}
🗺️ Sitemap Automation
Generate SEO-friendly sitemaps dynamically using next-sitemap to keep search engines up-to-date with new content.
Install and configure:
1npm install next-sitemapCreate next-sitemap.config.js:
1module.exports = {
2  siteUrl: 'https://yourdomain.com',
3  generateRobotsTxt: true,
4};
Add to package.json:
1"scripts": {
2  "postbuild": "next-sitemap"
3}
8. Best Practices & Advanced Tips for Next.js + Storyblok
Building a headless CMS-powered website is about more than just connecting Next.js and Storyblok. To ensure your project is scalable, maintainable, and fast, you need to follow some best practices. Start by organizing your components logically. For example, keep reusable UI elements like buttons, modals, and cards in a components/ui folder, while page-level components should live in components/pages. This makes the codebase cleaner and easier for team collaboration.
Another essential tip is caching and performance optimization. While Next.js ISR provides automatic regeneration of pages, combining it with cache headers ensures your content loads quickly for users around the world. Storyblok’s CDN also accelerates content delivery, but adding client-side caching for images, videos, and rich text blocks can drastically reduce repeated fetches, resulting in faster load times and better Core Web Vitals scores a critical SEO factor.
9. Deployment to Vercel
Vercel provides a seamless deployment pipeline for Next.js applications. After building your project locally, connect your GitHub repository to Vercel, and your app is deployed automatically. Every commit triggers a new build, and Vercel handles SSR, ISR, and edge caching automatically. For Storyblok-powered websites, this ensures content changes reflect instantly without redeploying manually.
Additionally, Vercel provides built-in analytics, edge performance monitoring, and a global CDN, which combined with your optimized content, ensures the website loads fast for users worldwide a key factor for both SEO and user retention.
10. Final Thoughts & Next Steps
Next.js combined with Storyblok provides a powerful headless CMS setup that balances developer flexibility with marketer-friendly content editing. By following best practices in component structure, caching, SEO, multilingual support, and visual editing, your site will not only perform well but also rank higher on search engines.
For the next steps, consider exploring dynamic components, A/B testing, personalization using Storyblok bridges, and edge rendering for globally distributed users. Implementing these features will make your site faster, smarter, and more future-proof for 2025 and beyond.
Subscribe to our Newsletter
Provide your email to get email notification when we launch new products or publish new articles
